
Installing a Garage Door Opener? Here’s Everything You Need to Know
- COMMERCIAL GARAGE DOOR REPAIR
- GARAGE DOOR OPENER INSTALLATION
- GARAGE DOOR SPRING REPAIR
- SAME-DAY GARAGE DOOR REPAIR
- CUSTOM GARAGE DOOR
- GARAGE DOOR OPENER REPAIR
- GARAGE DOOR TRACK REPAIR
- GARAGE DOOR CABLE REPAIR
- GARAGE DOOR PANEL REPAIR
- LOCAL GARAGE DOOR REPAIR
- GARAGE DOOR REPLACEMENT
- NOISY GARAGE DOOR FIX
- GATE REPAIR
- GARAGE DOOR INSTALLATION
- GARAGE DOOR SECTION REPLACEMENT
- OVERHEAD GARAGE DOOR REPAIR
Installing a Garage Door Opener? Here’s Everything You Need to Know
A garage door opener is not just a handy device; it’s a game-changer for convenience and security. Whether you’re a garage enthusiast or garage door opener installation for the first time, this guide will walk you through the process step-by-step. By the end, you’ll know exactly how to set up your garage door opener like a pro!
Prepping for Your Garage Door Opener Installation
Before you begin, proper preparation is key. This includes gathering the right tools and understanding your specific garage door type.
Gathering the Right Tools
You don’t need a toolbox full of fancy gadgets, just a few essentials to get the job done:
- Screwdriver
- Drill with bits
- Adjustable wrench
- Pliers
- Ladder
- Measuring tape
Make sure everything is within arm’s reach. A bit of prep now will save you a lot of time later.
Understanding Your Garage Door Type
Garage doors come in several types, from single-panel to sectional doors. Why does this matter? Your door’s weight and movement style determine the type of opener you’ll need. For heavy doors, for example, a chain-drive opener offers the power required; for quieter operation, a belt-drive opener might be better. Take time to identify your door type before proceeding.
Step-by-Step Installation Guide
Now that you’re all set, it’s time to install the opener. Follow these steps carefully for a smooth setup.
Mounting the Opener
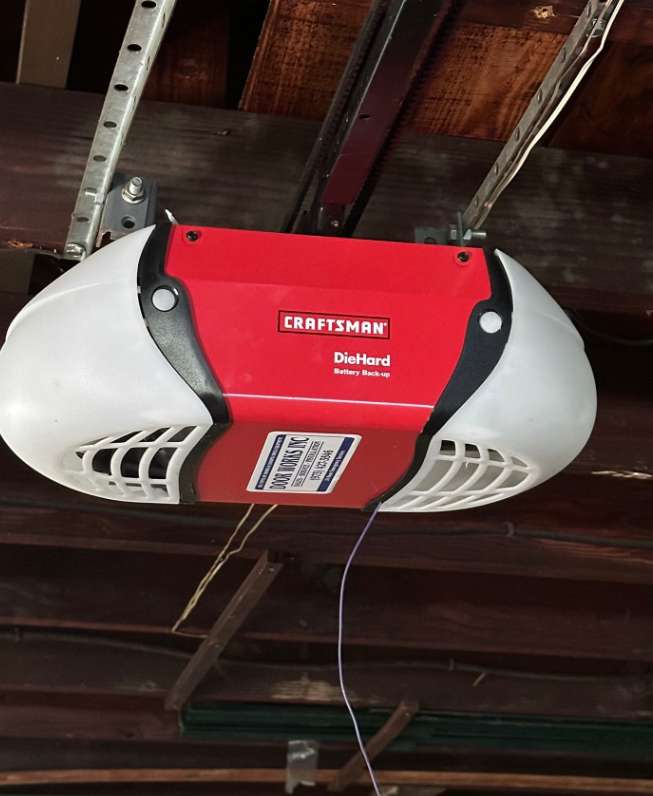
Start by securing the opener to the ceiling near the center of your garage door. Use the included mounting brackets to hold it in place. Make sure to attach it to a joist or sturdy frame to prevent wobbling. A perfectly mounted opener ensures smooth operation and long-term stability.
Connecting the Rail and Trolley
Next up is attaching the rail to the opener. Slide the trolley along the rail, then fasten the rail to the ceiling and garage door. The trolley acts as the moving part, pulling the door open and closed. Double-check the alignment to ensure smooth operation.
Setting the Travel Limits
Your opener needs to “know” how far it should move the garage door. Use the control panel or dials on the opener to set the travel limits. Test it by opening and closing the door to ensure it stops at just the right spots.
Safety and Final Checks
Garage door opener safety is non-negotiable. Protect your family and ensure your system operates correctly with these final steps.
Testing the Safety Reversal System
Modern openers come with a safety reversal system. Place an object under the door and lower it. If the door reverses automatically, the system is working. If not, troubleshoot or contact a professional.
Final Adjustments and Maintenance Tips
Wrap things up with some fine-tuning. Check for loose bolts, lubricate moving parts, and ensure the opener light works. Regular maintenance, like cleaning the sensors and tightening screws, will keep your opener functioning smoothly for years to come. For expert help, contact Local Garage Door Services FL to keep your system in top shape!